The Polygon in Contact technique
In the previous post I talked a bit about regular tesselations and a nice algorithm to draw them fast. Here I’ll present another way to create intricate tilings and tesselations. This one is also implemented in Mortier and to be honest is the entire reason I even went into this whole tiling shebang. This method is called “Polygon in Contact” and is based on the research of Dr. Hankin in Indian art (Hankin, E.H. The Drawings of Geometric Patterns in Saracenic Art). Hankin was investigating the decorations commonly found in Indian but also Islamic Art.
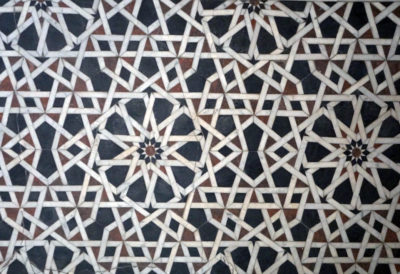
He found that starting from existing tiling, you can construct some rosettes by shooting “rays” from the sides of the tesselation, and creating new faces from them. The original tiling then dissapear, giving way to a new tesselation. Hankin method however was only developped to exactly reproduce rosettes and decorations.
Then, Kaplan and Salesin built from this idea to generalise the Polygon in Contact and proposed an algorithm that creates those intricate tilings from any given tesselation. Their method was implemented in “Absolute Geometry” terms, which means that they don’t chose any solution to the “Parallel Postulate”. This means that the behavior parallel lines is left undefined, allowing to construct a model that work for any kind of space afterward (spherical, euclidean or hyperbolic).
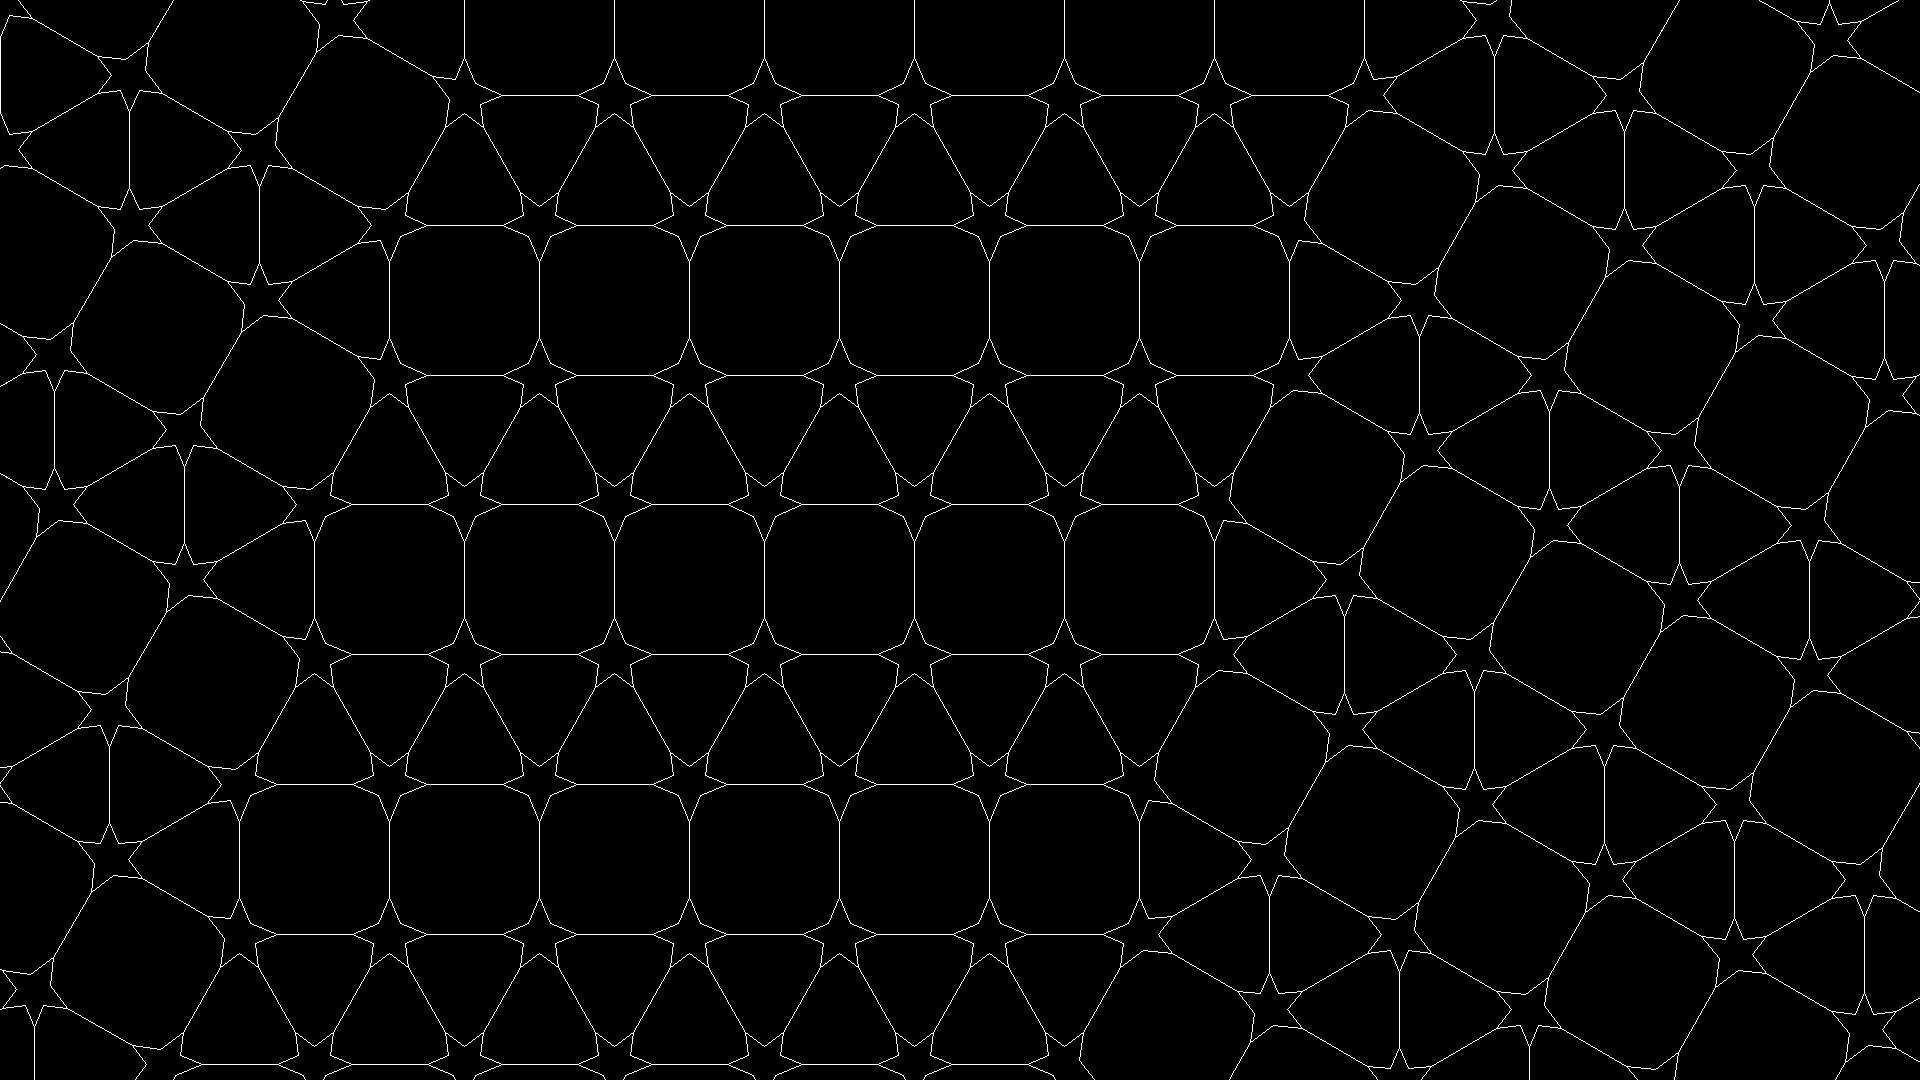
The method is as follows, applied to all faces in a tesselation.
For all sides of the face:
- From the midpoint of the side, fire 2 rays at a given $\theta$ angle from the normal of the side
- Find the closest intersection of the two given rays
- Construct a new polygon from the intersection of the rays and the starting site
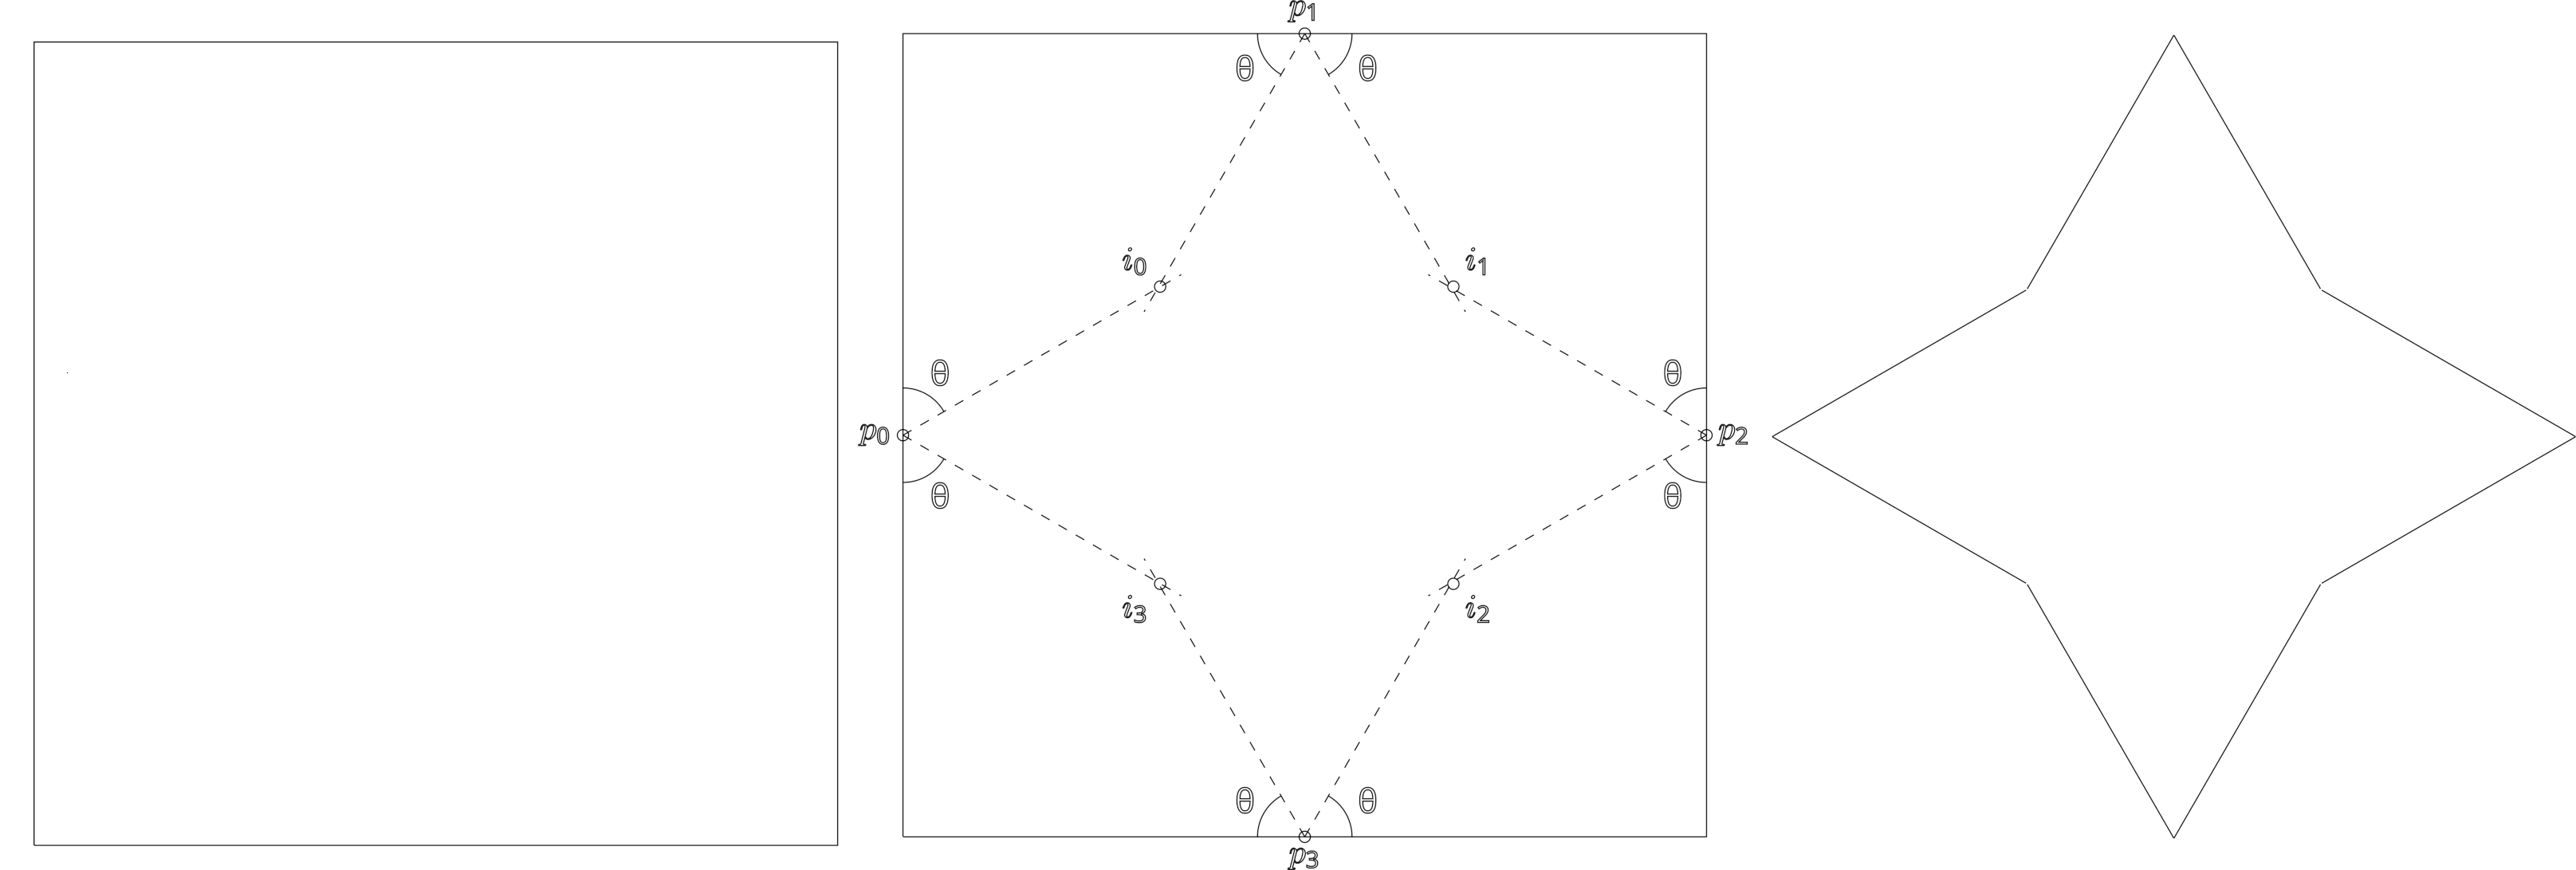
The method described in the paper does some optimizations to try and find the closest intersection between two rays. In Mortier, the tesselations are built face by face so we just have to find the intersection between two pairs of rays belonging to adjacent sides. The method produce a tiling with “interior” tiles, which are produced with the intersection of the rays and “exterior” tiles which are the negative of those tiles.
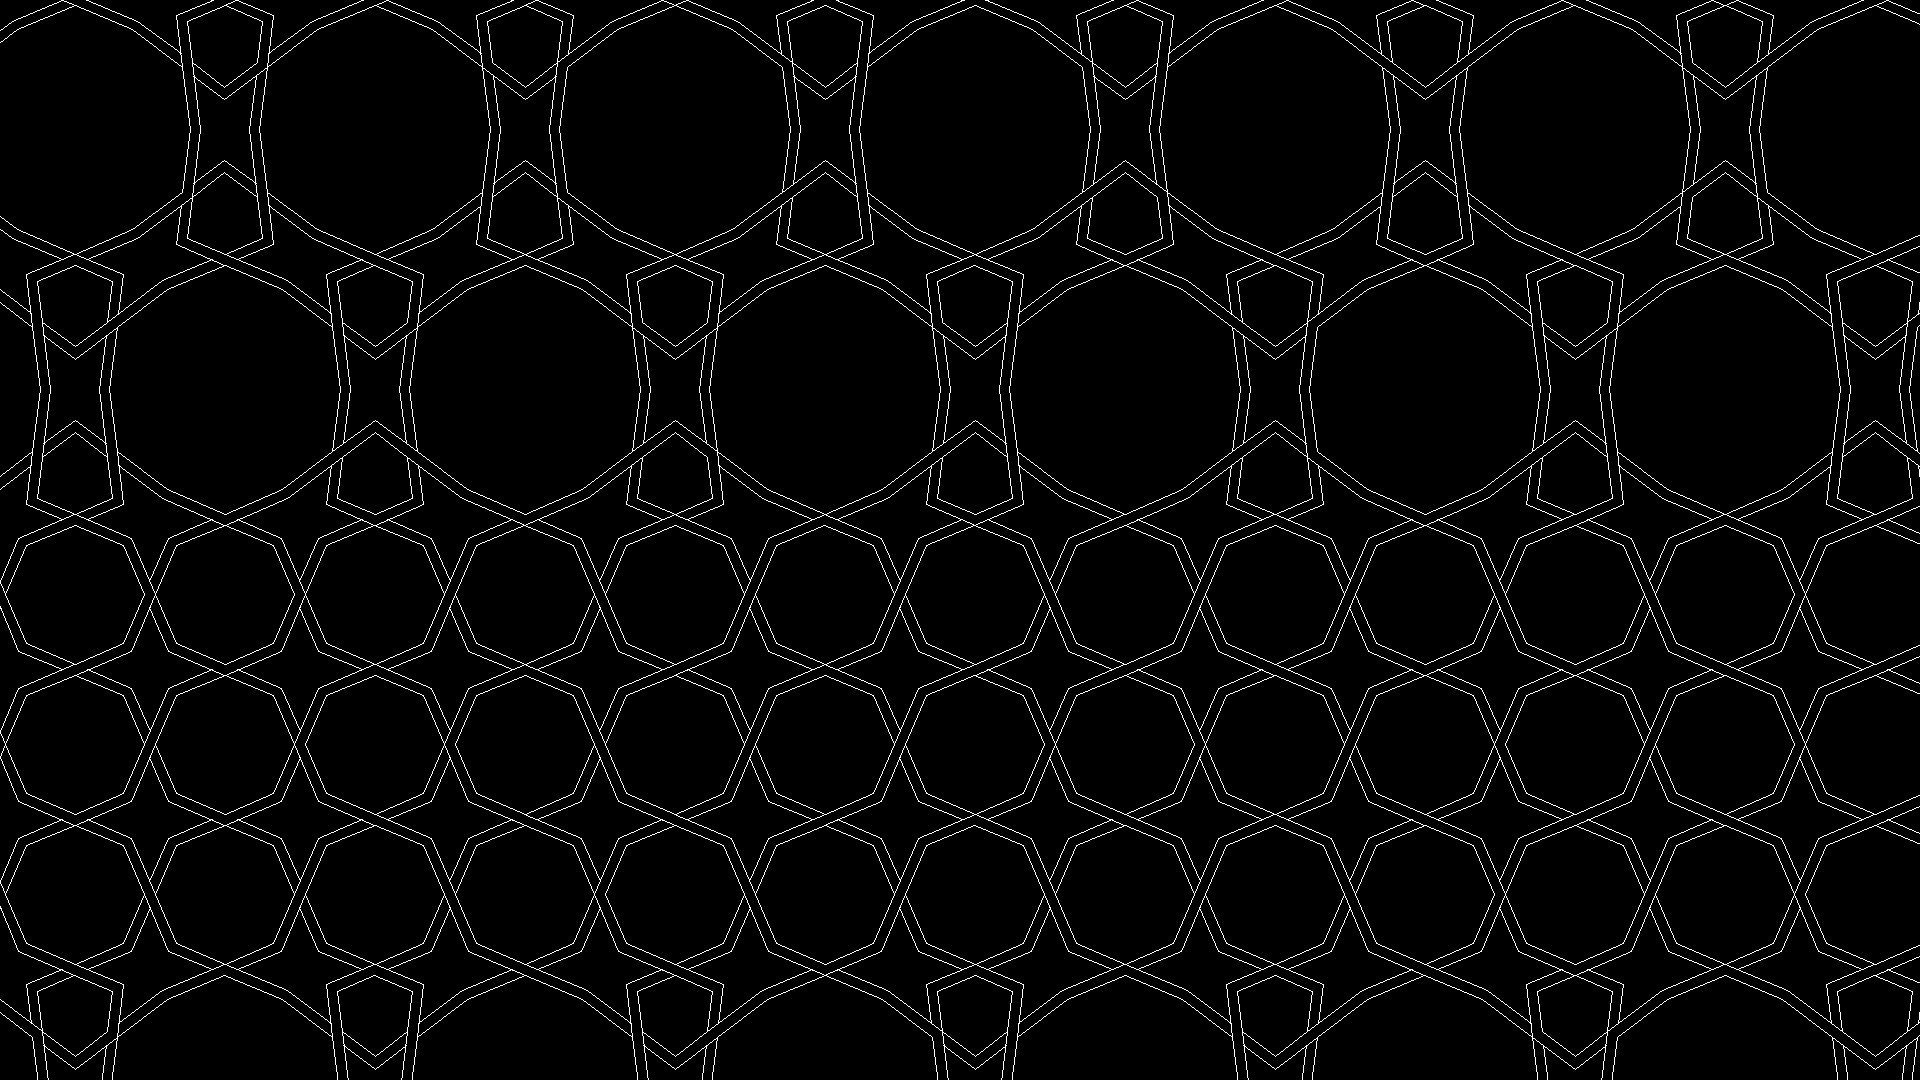
There is quite a lot of parameters that we can mess with in order to obtain different results. The first, and maybe the most obvious one is to parametrize the $\theta$ angle from which rays are shot. We can assign a value of $\theta$ based on the coordinates of the origin points to smoothly transition between different tesselations. In the figure below, I use a Simplex Noise to modify the value of $\theta$.
We can also add some assymetry to the rays, by using two different values of $\theta$. Instead of using the mid point for the launch sites, we can use two different position, placed at different intervals on the sides.

This gives pretty interesting results.
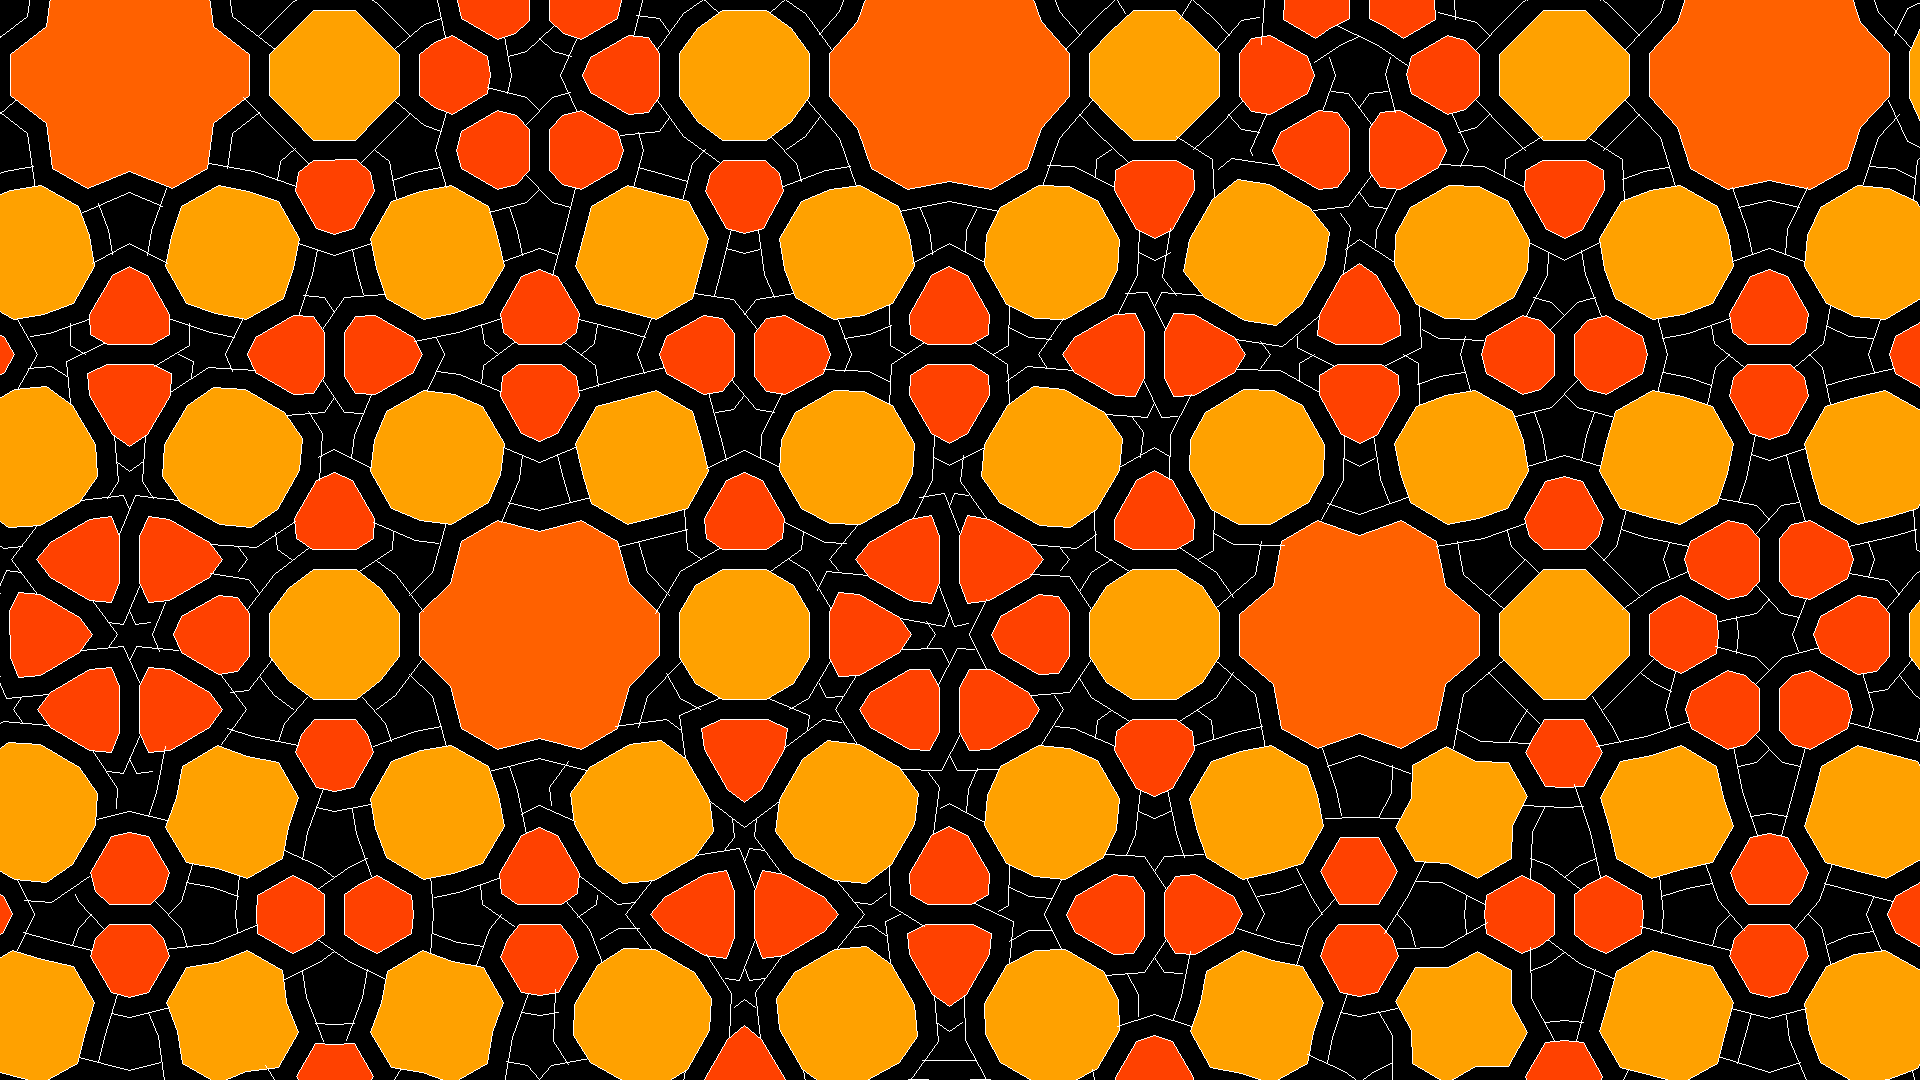
We can also add decorations to the tiling obtained, akin to some “laces” that go over or under each other.
Of course those can all be combined to create even weirder and interesting results. Here I color the interior tiles using the “autumn” colormap.
This technique can be applied to all sorts of tilings. Applied on aperiodic tiling, such as the P2 Penrose Tiling, it produces a new tiling with 9 tiles. The number of tiling produced by the PiC technique is equal to the number of tiles in the initial tesselation and the number of vertex figures.
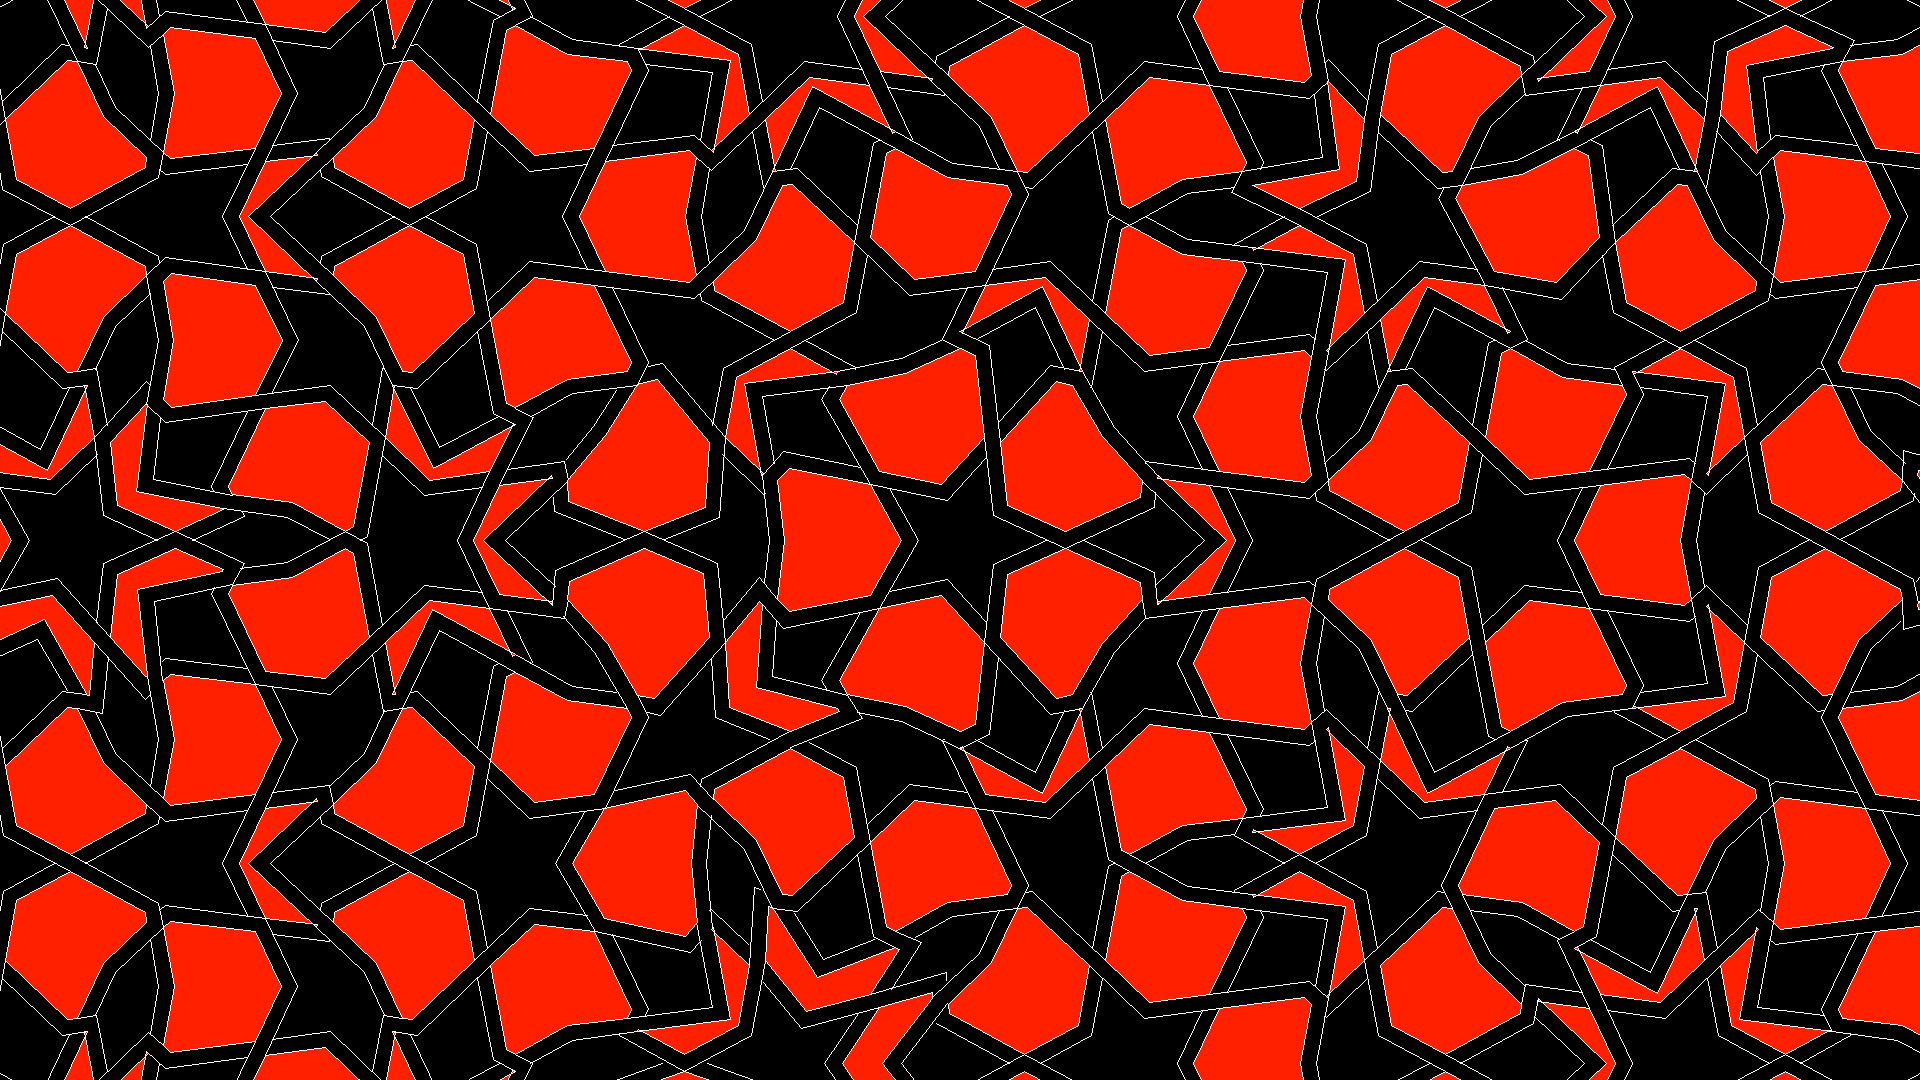
The produced tiling is probably aperiodic, although I have not checked it seriously. This technique might be able to generate an infinite family of aperiodic tiling starting from an aperiodic tiling.